Step 4 - Adding and Managing Images on the Images tab

This guide is a continuation of a series of articles walking you through the estimate creation process from estimate creation to marking the project complete and generating reports. To view the previous article in this series, see Filling in the Pricing tab.
Adding and Managing Images on the Images tab
Images can help paint the picture of the repairs and maintenance that are needed for a property. Images are primarily managed through the Images tab.
Adding Images
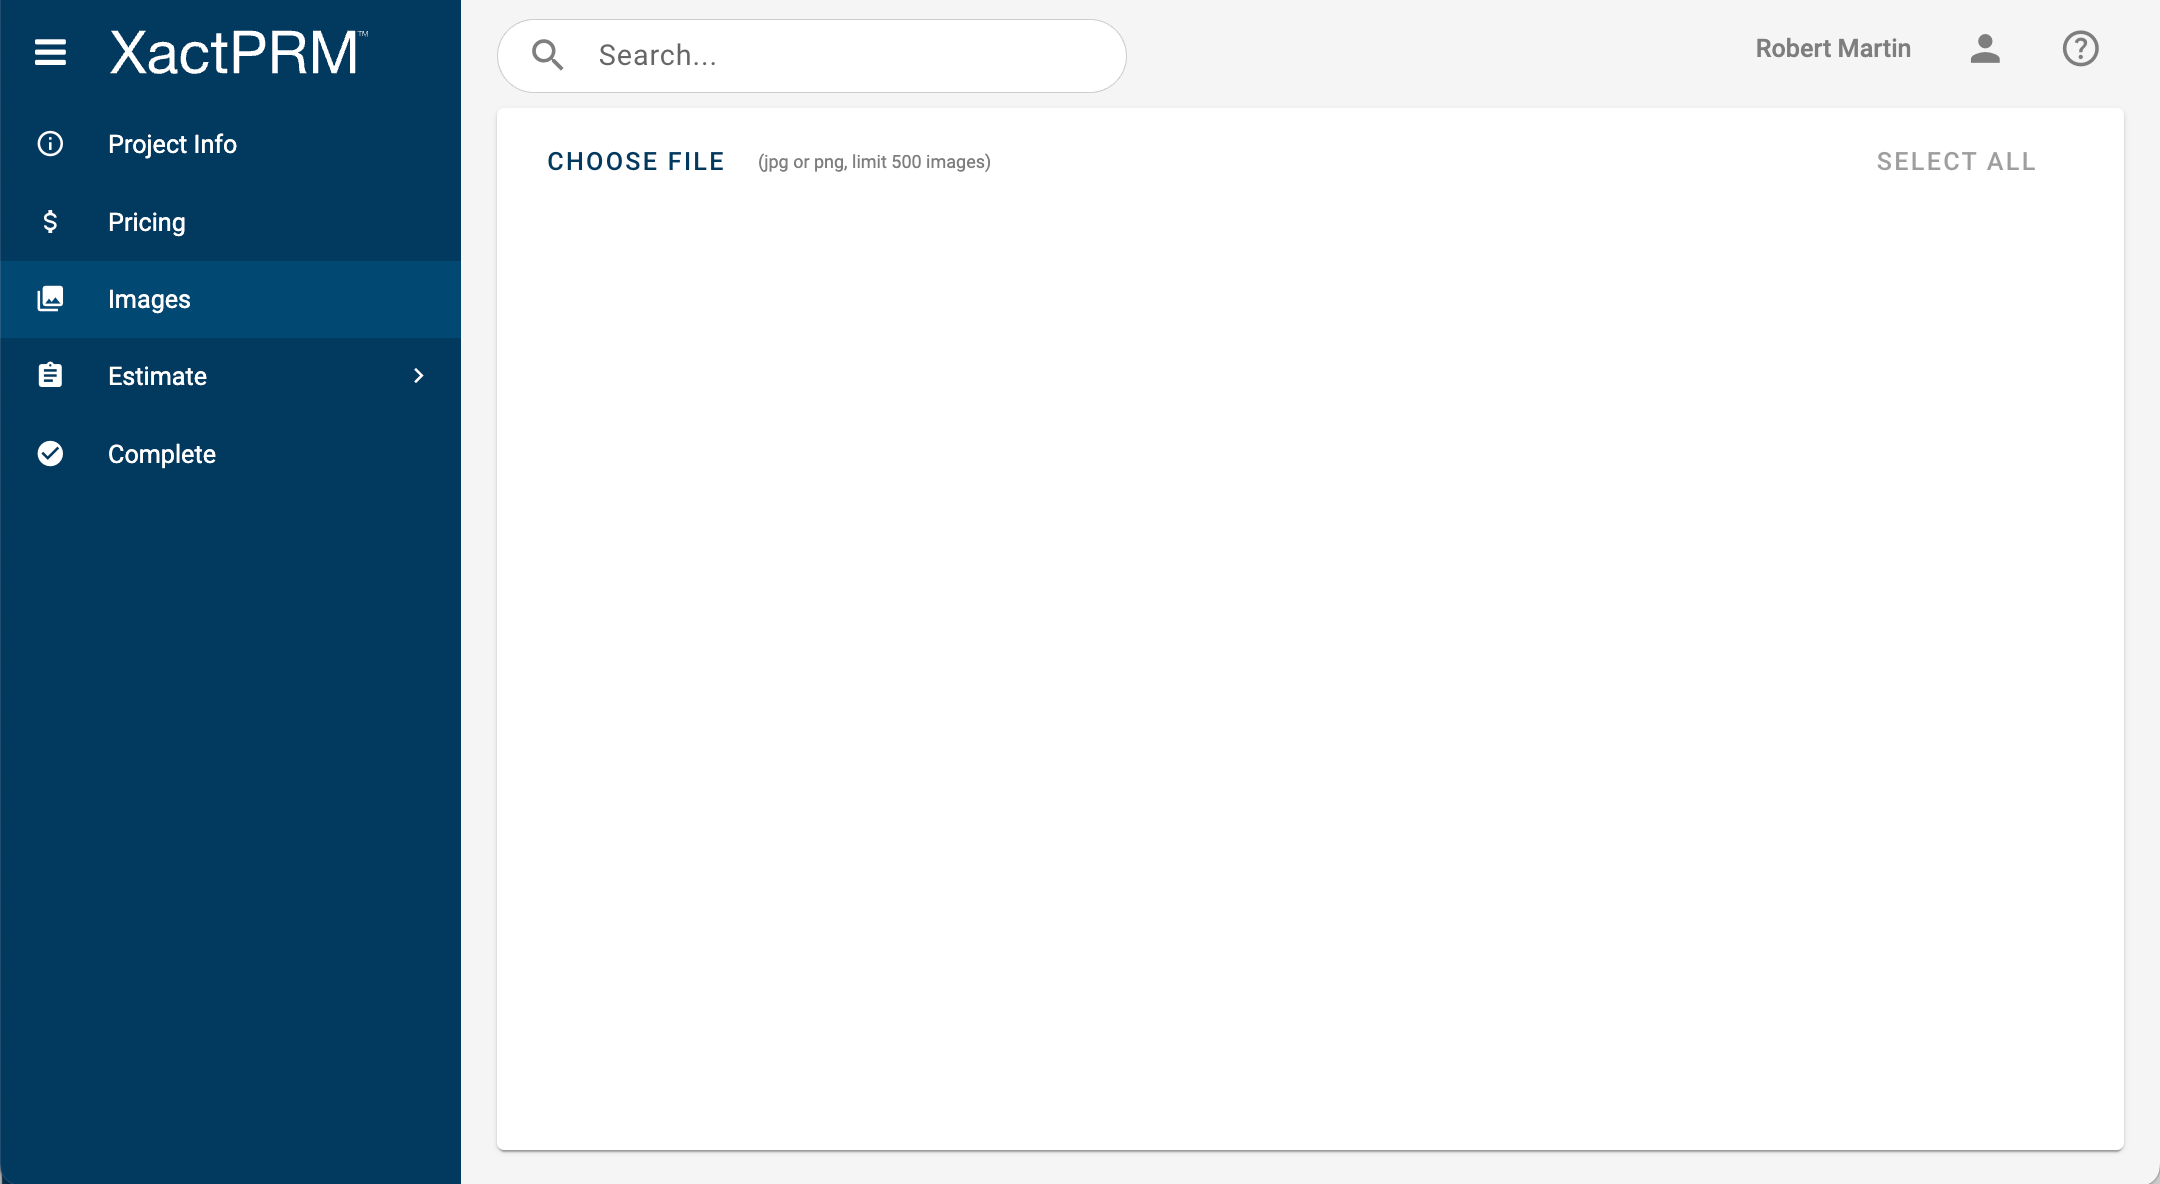
- Open a project an navigate to the Images tab.
- To add images EITHER select the images from your computer and drag and drop them on to the images tab, OR click CHOOSE FILE, select the images from where they are saved on your computer, and then click Open.
Viewing and Navigating Images
- To view images that have been added, click on any of the thumbnails displayed in the Images tab.
- To navigate through the images, click the white arrows that are displayed on either side of the full-sized image.
- To close the full-screen view, click the Close icon at the top right.
Deleting Images
- Select an image or images by clicking on the check icon at the top left of any image thumbnail.
To select all images, you can also just click the SELECT ALL button. - In the small slideout that appears, click the Delete option.
For help continuing with your estimate, see Estimating.