Step 5 - Estimating

This guide is a continuation of a series of articles walking you through the estimate creation process from estimate creation to marking the project complete and generating reports. To view the previous article in this series, see Adding and Managing Images on the Images tab.
Intro to Estimating
Estimating is the core of XactPRM. In this section we’ll outline how to create groups, add and edit, modify, and add attachments to line items.
Creating Groups
XactPRM organizes line items into groups. You can have a single group or create multiple groups to separate line items into logical sections.
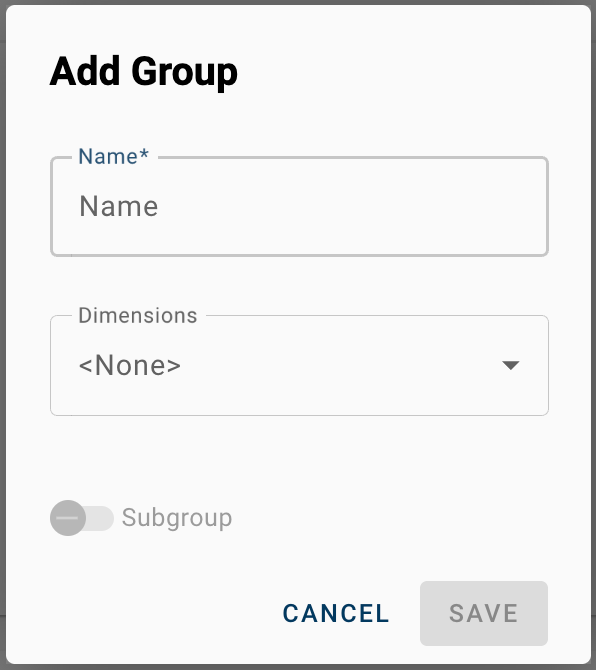
- When you first navigate to the Estimate tab, you will be prompted to create a group. Give it a name of your choice, set dimensions if desired, and click SAVE.
- To create an additional group, click the +ADD button.

Adding Line Items - Three Ways
XactPRM makes estimating easy for every user type, from the novice who has never swung a hammer to the power user who has been using XactPRM or other Xactware products for years. In this section, we'll walk through three ways to estimate and discuss the advantages of each.
Option 1 - Estimate Using the Reference Images
The first method is great for beginners. If you're new to XactPRM, there's a good chance you're new to construction in general, and you may not know what everything is called. Using the references images included within XactPRM, you can simply click on the object you're looking for to pull up relevant line items.
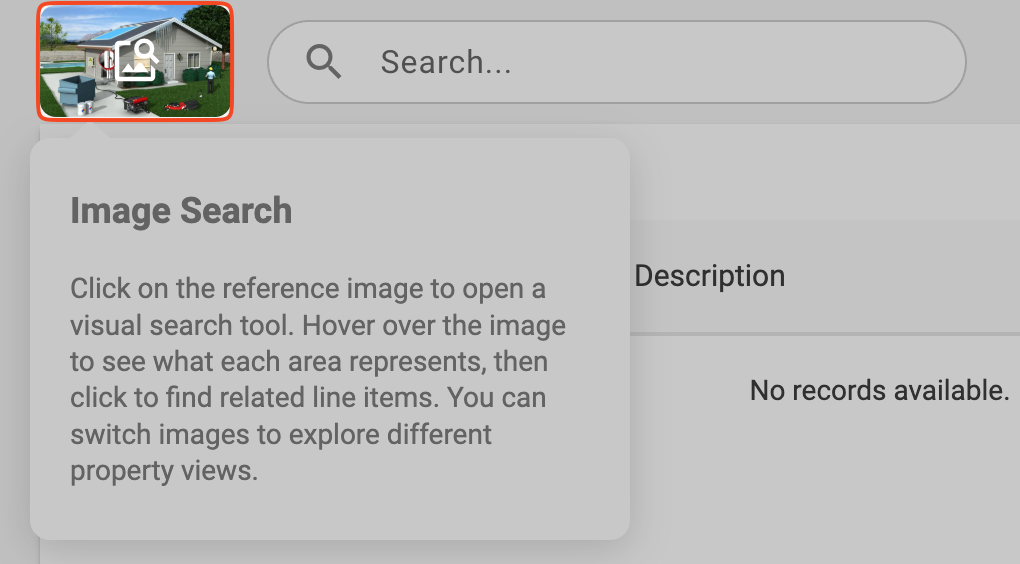
- Click on the Image Search option located at the top of the Estimate page to expand it. As you hover over the icon, a description will be shown.
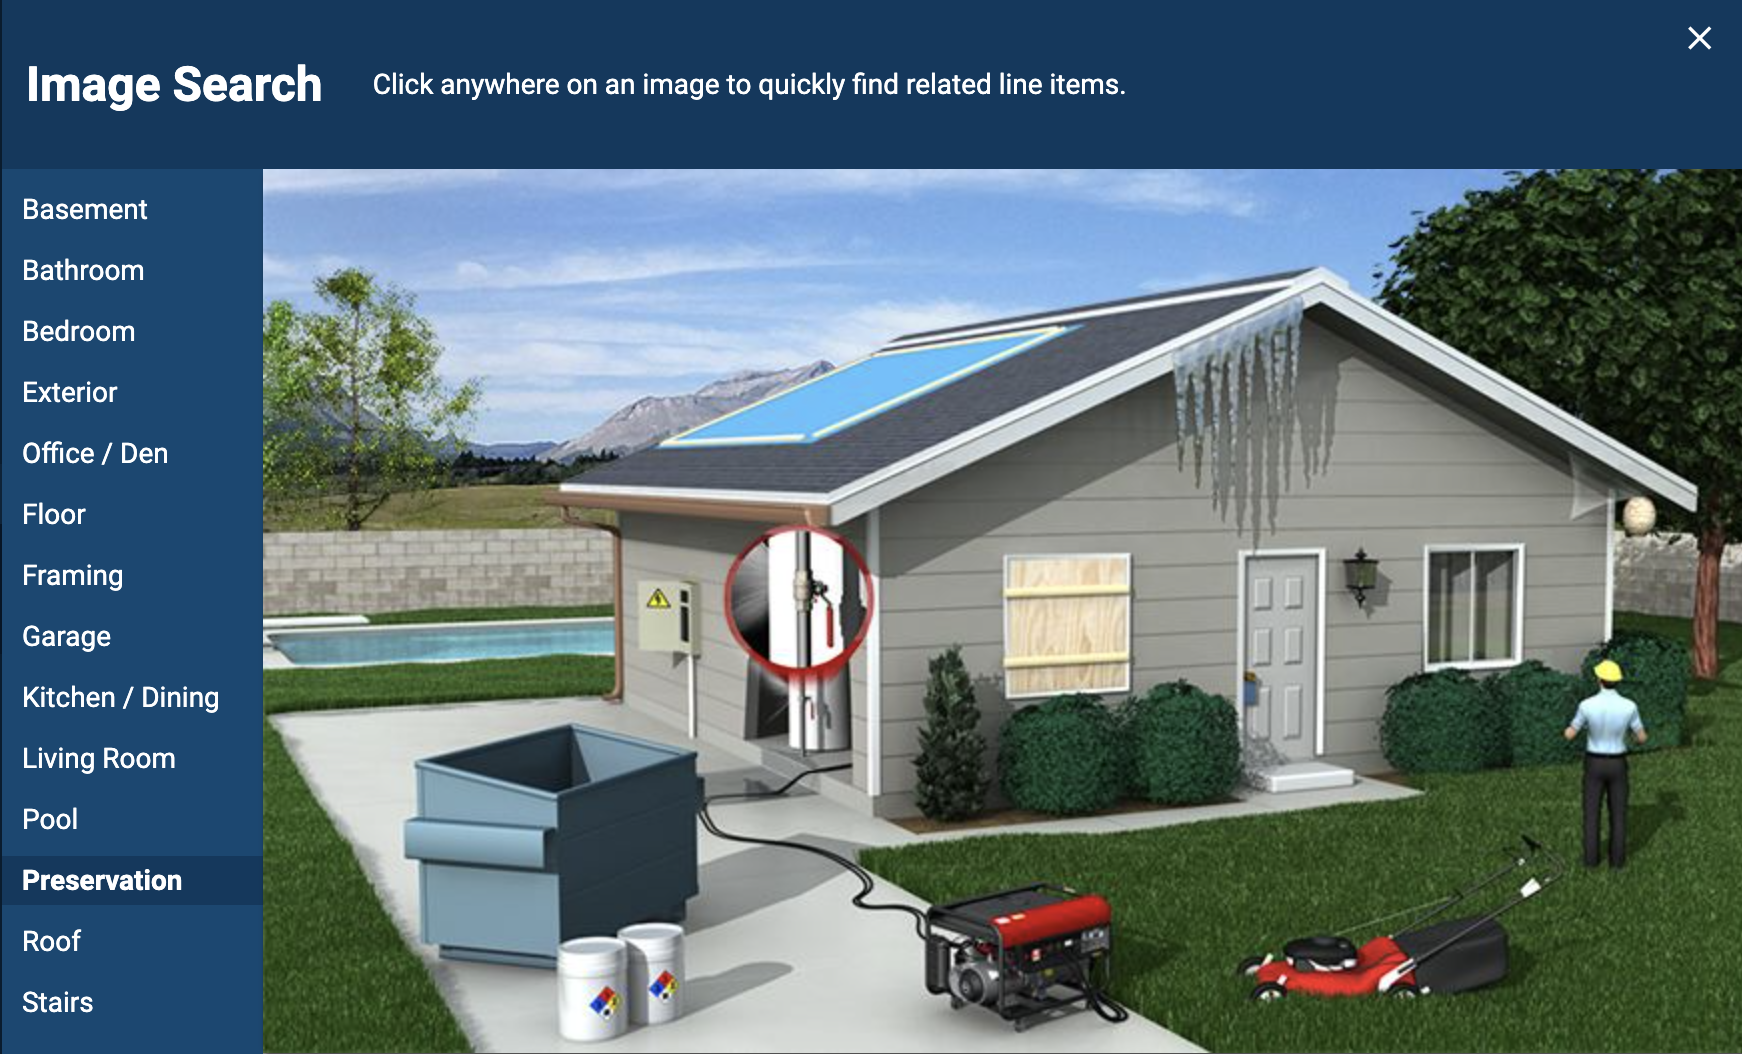
- Select the image you would like to view from the list on the left. The Preservation image is used most often by our users and is set as the default.
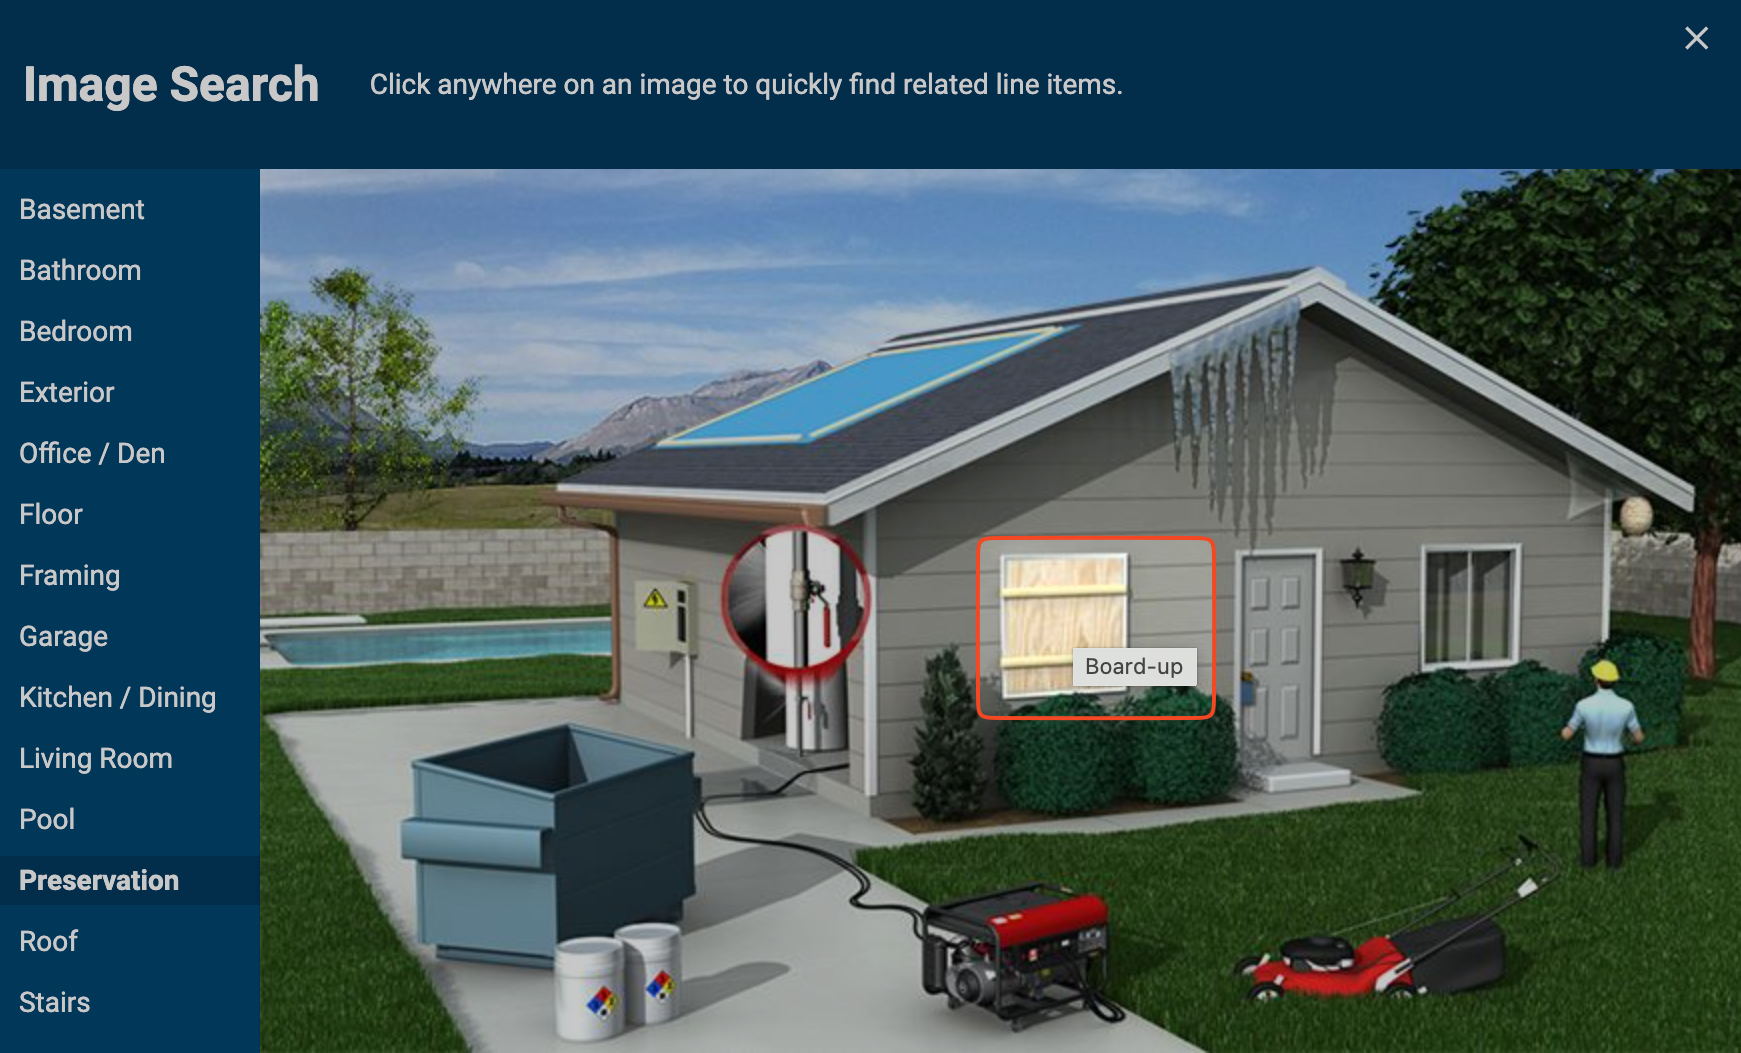
- Begin to hover your mouse over various parts of the image. You'll notice a hotspot will display telling you what you are looking at. Click the part of the image that aligns with what you are looking for to kick off a search for relevant line items.
- Add the line item you would like by clicking the orange Add icon next to it. To browse and select Quick Estimates instead, select the Quick Estimate tab. For more info on using Quick Estimates, see the Quick Estimates overview.
Option 2 - Estimate Using Search
The second method is great for beginners and seasoned users alike and is probably the most common way to search for and add line items. Using the search field, you can quickly locate and add the line item you want.
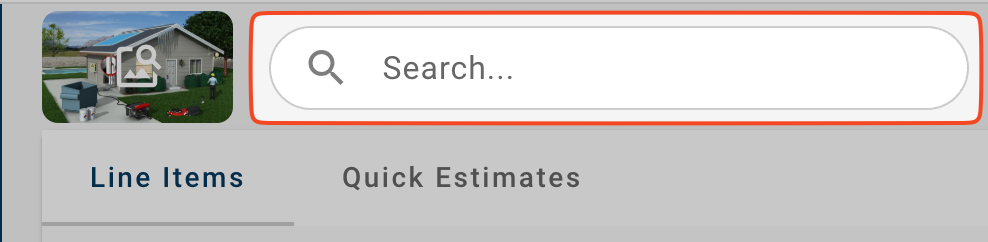
- Enter your search term in the search field at the top of the Estimate page.
- Add the line item you would like by clicking the orange Add icon next to it. To browse and select Quick Estimates instead, select the Quick Estimate tab. For more info on using Quick Estimates, see the Quick Estimates overview.
Option 3 - Estimate Using Manual Entry
The last method is reserved for true power users. As you spend more time estimating in XactPRM you'll get very familiar with our line-item codes. This method cuts right to the chase by allowing you to key in the codes directly.
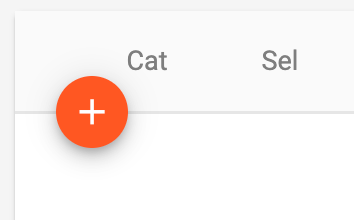
- On the Added Items grid, click the Add button to add a new row.
- Key in the category code for the line item you would like to add, then hit Tab to go to the next field.
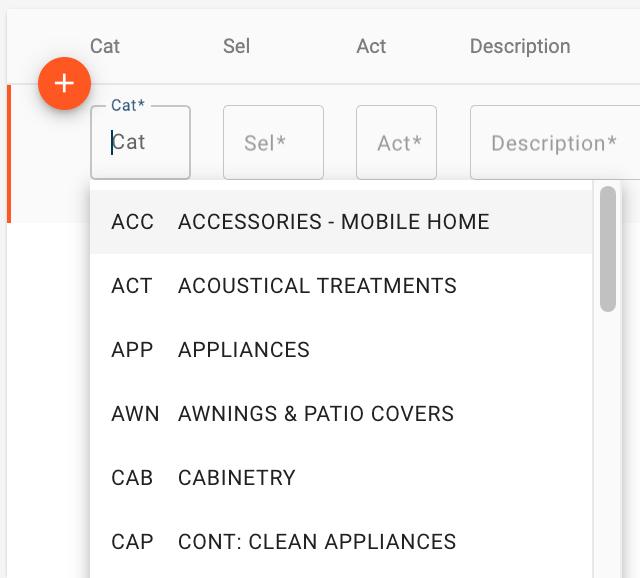
- Repeat for the Selector and remaining fields, hitting Tab each time to move on to the next editable field.
Editing Line Items
Once line items have been added to your estimate, click them to adjust line-item quantities. Changes can also be made to line-item descriptions and unit prices, though these changes will be flagged.

Adding Attachments to Line Items
Notes and images can help tell the story of why certain line items have been added to the estimate. Follow these steps to add these attachments.
- In the Added Items grid, click the paperclip icon next to a line item.

- To add a note, enter text into the Line Item notes section.
- To add an image or images, click the ATTACH IMAGES button.

- If images have already been attached to the estimate, check the box next to the ones you wish to attach to this line item.
If images have not yet been attached to the estimate, either drag and drop or click CHOOSE FILE and select the images on your computer to be added.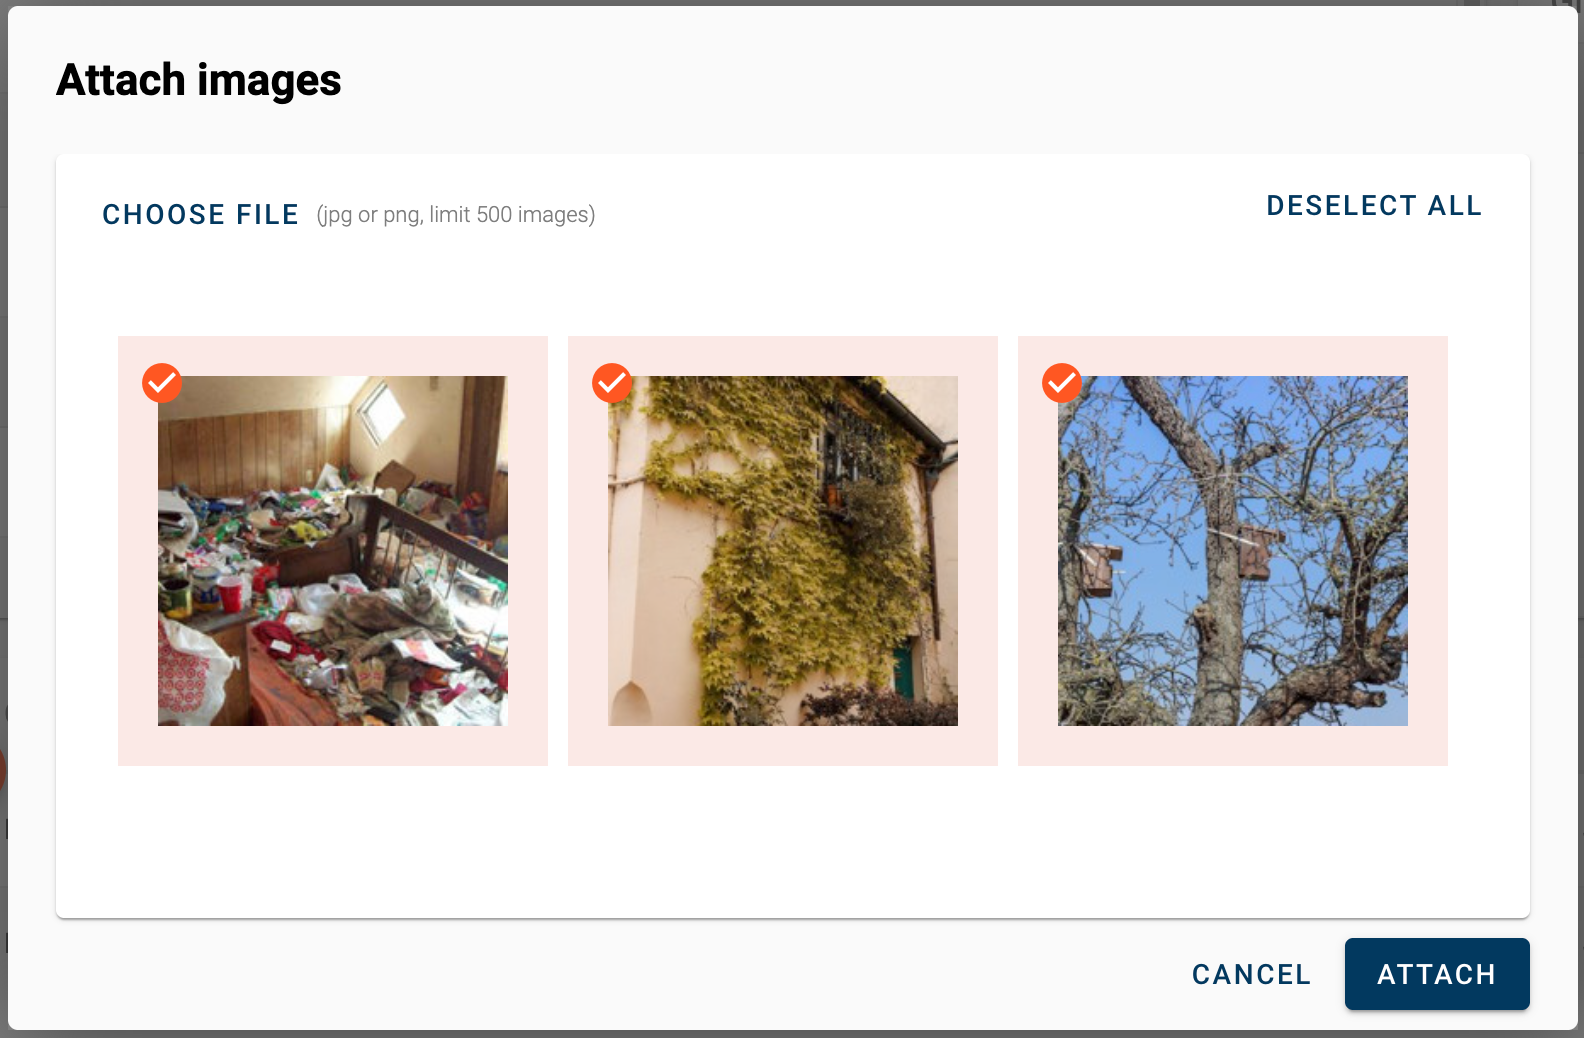
- Click ATTACH and then SAVE to complete the attachment process. Note the paperclip icon now displays in blue to signify there are attachments.

For help continuing with your estimate, see Completing an estimate and viewing reports.