Adding custom dimensions to a group

When creating a group you can select from a list of room dimensions or input your own custom dimensions.
Adding custom dimensions
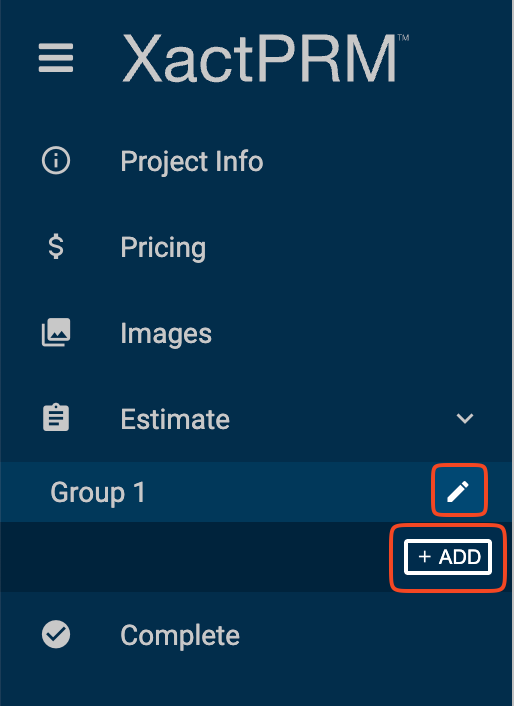
- On the Estimate page, click the +ADD button to add a new group or the pencil icon to edit an existing group.
- On the Add/Edit Group window, open the Dimensions dropdown and select the Custom option.
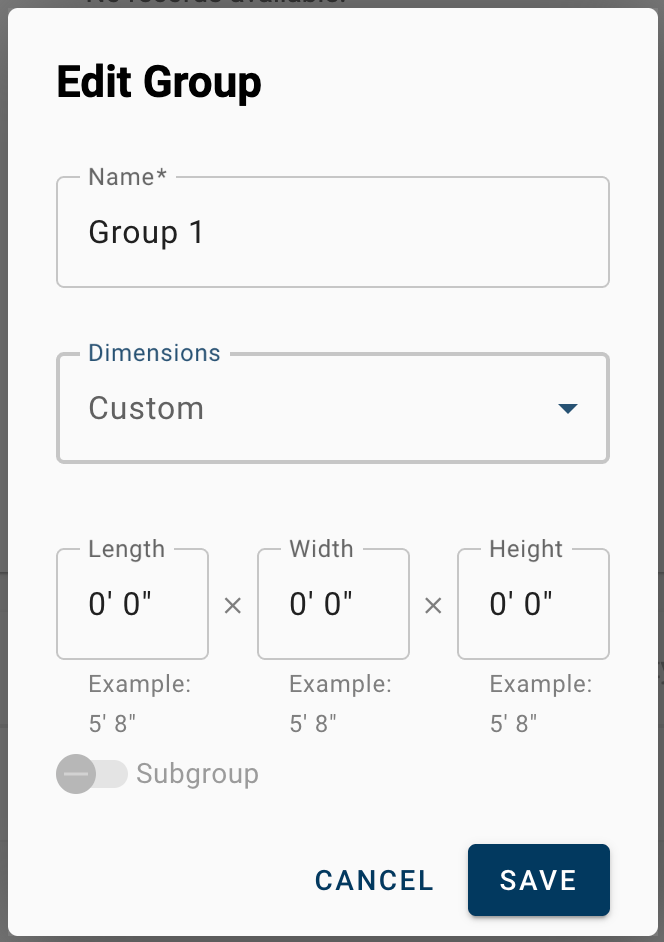
- Input your desired length x width x height dimensions. The following table outlines how various inputs will be interpreted in any of the dimension fields:
User Input
Interpreted Value
4
4' 0"
4 3
4' 3"
4 3"
4' 3"
4'
4' 0"
4' 3
4' 3"
4'3
4' 3"
4' 3"
4' 3"
4.
4' 0"
4.3
4' 4"
4"
0' 4"
4.3"
0' 4"
4.6"
0' 5"
44"
3' 8"
4' 3'
4' 3"
4 3'
4' 3"
4'3'
4' 0"
- Click SAVE to save the custom dimensions.
- Once dimensions are set, line items that key off of the room dimensions will be auto-populated with quantities. Adjust as needed.