This document will walk you through creating a Forms+ template in XactPRM. Forms+ is an add-on feature that must be enabled for your account. For more information see our All about Forms+ article.
Form templates are reusable question sets you create that help you collect information about property condition in a standardized and consistent format. Once a form template has been created and published by you, form projects can be created by your vendors so that property information can be collected for each of their properties. Need to make changes to your template? No problem. Simply unpublish, make the desired changes, and republish. All future form projects will use the updated template.
Beginning a Form template
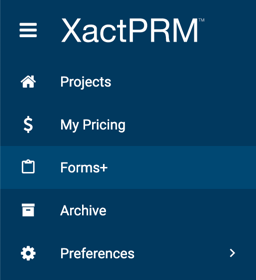
Navigate to the Forms+ tab
Forms+ is an add-on feature and won't be visible to most users by default. Learn more here.
Click the Add button.
Enter a name for your Form and click SAVE.
Navigating the Form Builder
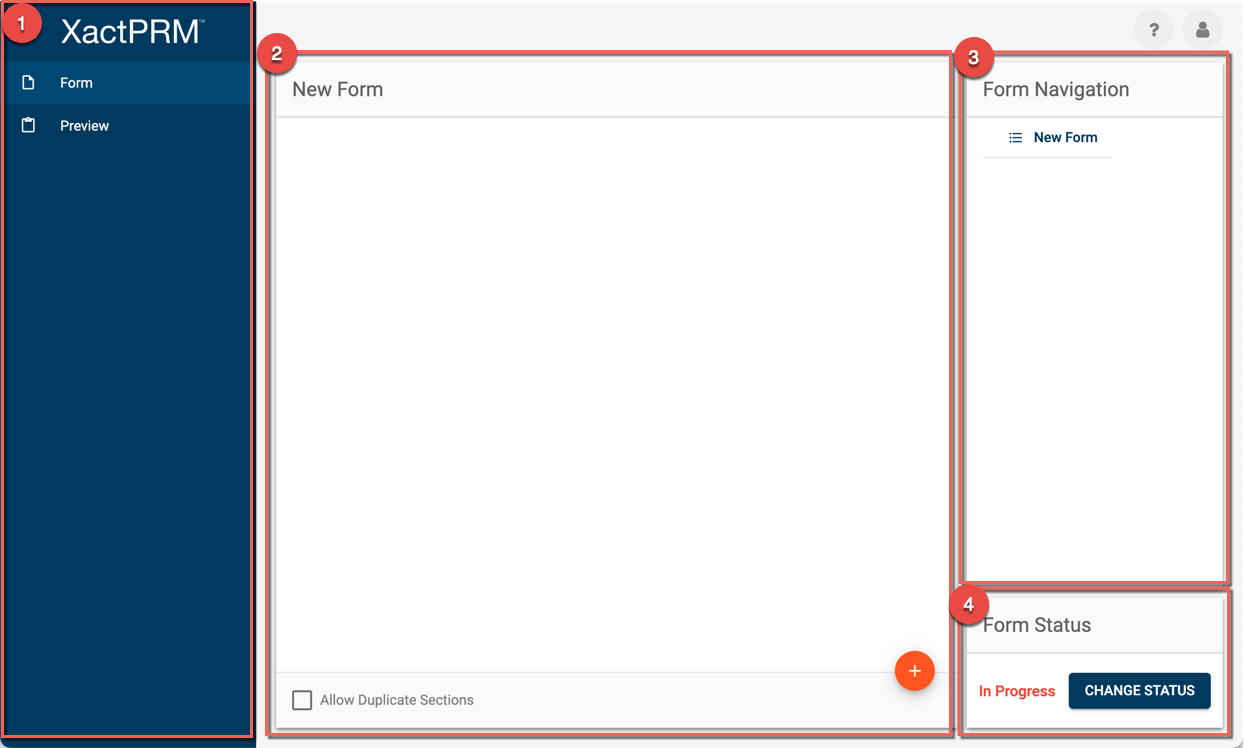
The form builder can be broken up into four distinct sections as follows:
Section 1 - Form Side Nav - build your form under the Form tab and view what it will look like for those filling out the form on the Preview tab.
Section 2 - Form Questions - Click the add button at the bottom to insert form elements. The form elements you add will be shown here. Forms can be divided into sections and only one section will be visible at a time in this pane.
Section 3 - Form Navigation - view each of the form sections and questions in this pane. Click on any of them to jump to that portion of the form.
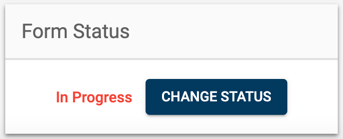
Section 4 - Form Status - once finished, click CHANGE STATUS to publish your form. Only published form templates can be used to create form projects.
Adding form elements
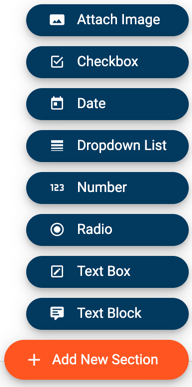
Click the Add button
Select the form element you would like to addThe following table outlines each of the available form elements:
Add New Section (orange)
Form questions are added to sections. Within a form, most often sections represent the various rooms of a house. Certain sections can be made duplicatable if desired (e.g., set "Bedroom" to repeatable so when the person filling out the form encounters a second bedroom, he can answer the Bedroom questions again. Form sections can also be set to require room dimensions. An initial section was automatically created for you when you created your form template.
Attach Image
Allows the user to attach images to the form.
Checkbox
Common question type for when multiple responses may be appropriate (e.g., "check off all appliances that are in need of replacement"). Line items can be associated with this question type.
Date
Allows the user to input a date. Time can also be collected if desired.
Dropdown List
Common question type for when only a single response is appropriate (e.g., "do any windows need repair or replacement? (yes/no)"). Very similar to the Radio option. Line items can be associated with this question type.
Number
Allows the user to input a number.
Radio
Common question type for when only a single response is appropriate (e.g., "do any windows need repair or replacement? (yes/no)"). Very similar to the Dropdown List option. Line items can be associated with this question type.
Text Box
Freeform text field commonly used to collect additional information not captured by the form questions (e.g., "Is there any additional information we should know about the kitchen?")
Text Block
Text field for providing the person filling out the form with direction or instruction. No input is expected on this form element by the person filling out the form.
Place the form element where you would like it in the form
Editing form elements
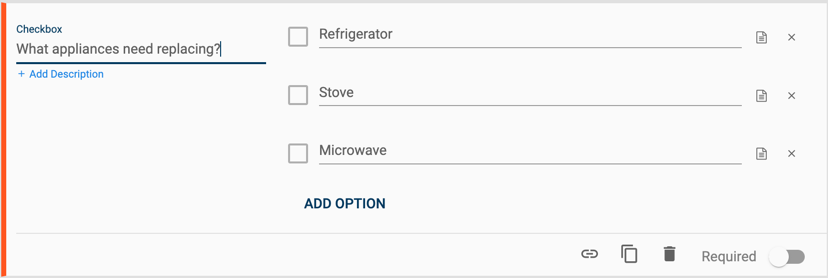
Click the form element you would like to modify. It will go into Edit mode.
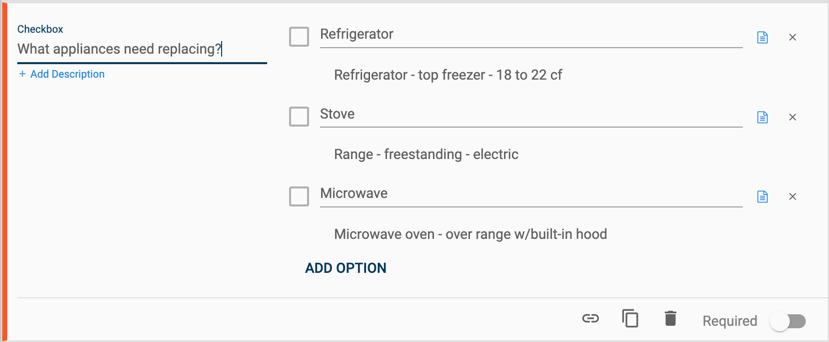
In the field on the left, input the question name, e.g., "What appliances need replacing?". If desired, click the Add Description link to add some clarifying detail.
For Checkbox, Radio, and Dropdown questions, input the selection options on the right, e.g., "Refrigerator", "Stove", and "Microwave". If additional options are needed, click the ADD OPTION button. If fewer are required, click the "x" icon to the right of the option that you wish to remove.
Associating line items with form responses
Line items can only be associated with Checkbox, Radio, and Dropdown question types
Click the question to put it into edit mode and click the Attach Line Item link to the right of one of the options.
In the slideout that opens, search for a line item you would like to associate with that option.
Click the Add button to the left of a line item. It will be added to the Added Items section.
As desired, edit the quantity. This will adjust the default quantity shown whenever this line item gets added.
Repeat to add additional line items to this or other question options. Changes are automatically saved.
When line items are associated with form options, the Attach Line Item link will turn blue and the line items will be listed below each option.
Setting up conditional questions
By default all questions are displayed to users who are filling out the forms. Questions can be made to conditionally show or hide based on earlier responses using the following steps.
Click the form element you would like to be made conditional. It will go into Edit mode.
Click the Conditions link.
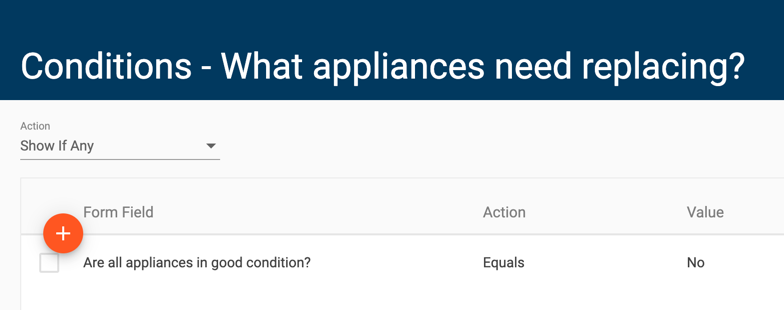
Select an Action. "Hide if any" will hide the question if any of the following conditions hold true. "Show if any" will show the question if any of the following conditions hold true.
Click the Add button to add a condition. In this case, I want to show my "What appliances need replacing?" question only if the answer to the preceding "Are all appliances in good condition" question was "No".
Under Form field, select the earlier question that we would like to link this question to.
Under Action, select "Equals" or "Does Not Equal"
Under Value select the target response
Click off of the rule and then click SAVE.
Once a condition has been successfully set up, the Conditions link will turn blue.
FAQ
How do I move questions?
Make sure the question is not in edit mode by clicking off of it, then click and drag it to another location. Note that dragging may break form conditions as questions can only be made conditional based on questions that appear earlier in the form.
How do I duplicate questions?
Click the form element you would like to duplicate to put it into Edit mode.
Click the duplicate button and then place the question where you would like it.
How do I set a form question as required?
Click the form element you would like to make required to put it into Edit mode.
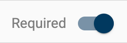
Click the Required toggle until it shows blue.
How do I make my form available to vendors or my employees?
After all desired changes have been made to the form, click the CHANGE STATUS button until the status shows as Published.
How can my vendors or employees create and fill out a form project using my template?
We have a doc for that! You can refer your vendors or employees to this article: Filling out Form Projects
How do I create an Estimate from a completed Form project?